Weathering is a matter of opinion. However, some extra detail while finishing a kit can bring up a nice paint work and make the model look less like a toy. Personally, i like to keep weathering under control. I frequently find some kits with overdone weathering on the internet.
For me, the major problem is working with oil paints. It is always a mess! Wash is a technique i can´t perform very well. I´ve tried to work with water based paint, but the results were frustrating. So i started to look for some other material that would highlight panel lines. In a office supplies store, i found the Pentel 0,3mm pencil. It has the right size to fit in the panel lines. The graphite will then paint the panel line and you will end up with a nice and clean recessed panel line on your model, with no oil paint and nothing to clean after. The problem is that after the line is drawn, the graphite leves a metallic finish. This kept my tecnique in the shelve for a long time.
Recently, i got a bottle of Tamiya X19 smoke paint. I saw the possibility to dilute the paint and applie it over the panel line with the airbrush to eliminate the metallic finish. It worked like a charm! So i am presenting here my technique of painting panel lines rather than washing them. I don´t know if anyone has writen about this before. I thought that it would nice to present it here as an alternative to oil paint work on recessed panel lines.
So here you see the process step by step in a 1/48 scale Italeri (ex-ocidental) spitfire:
1) The pentel 0,3mm pencil:
2) The basic color applied to the kit, with highlights on the center of the panels:
3) The panel lines painted with the Pentel pencil on the left wing. The right wing is unpainted to show the difference:
4) The X19 soke is then airbrushed over the panel lines. You can see the difference between the two wings. On the left side, just the pencil. To the right, the graphite with the soke painted over.
5) To tone down the weathering, the base color is applied over the the finished paint work. It must be diluted to about 9-1 thinner to paint ratio.
6) The same technique is used to weather the upper surface.
7) Everything ready and sealed under future, just waiting for the decals.
It works nice in other scales...
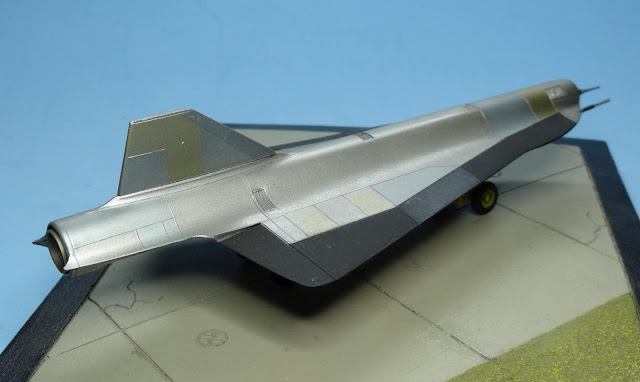
and different subjects!


