Saturday, August 27, 2011

Military vehicles vol.11

Subject: Sd.Kfz 166 Sturmpanzer Brummbar
Scale: 1/72
Manufacturer: Italeri
Painting: Tamiya acrilics


Friday, August 26, 2011

Military aircraft vol.14

Subject: Douglas SBD-3 Dauntless
Scale: 1/72
Manufacturer: Hasegawa
Painting: Gunze  and Modelmaster acrilics


Sunday, August 21, 2011

Military aircraft vol.13

Subject: Horten HO229 V7
Scale: 1/72
Manufacturer: PM models
Painting: Tamiya acrilics


Friday, August 12, 2011

Helicopters vol.2: Bell H-13H Sioux

Subject: Bell H-13H Sioux
Scale: 1/72
Manufacturer: Italeri
Painting: Tamiya acrilics and Alclad 2


Sunday, August 7, 2011

Kit review vol.1: AA/AT bunker

Subject: AA/AT bunker
Scale:1/72
Manufacturer: Italeri
Comments: This is one of  Italeri´s kits for war players. It is made of 24 injected parts in the traditional grey colored plastic from the italian manufacturer. In the box you get 2 large sprues with the major assembling parts for the bunker and some small details. There are no guns inside the box, so you will need to get them as a separete kit  in order to complete the scene.


I performed a dry-fiting test of the major parts to see how they get togheter and found no problems. Surface detail is Ok for the scale, but you will have to do some work inside because you will be able to see  it by the large porthole of the anti-tank gun. Here you see the photos of the test:


Conclusion: This is a nice kit to use as a base for a world war 2 scene. With the guns in place and some basic diorama tecnics it will look really good. I recommend it!

Friday, August 5, 2011

Work in progress vol.2: - Bell AH-1/AB-47 light helicopter - READY!

Subject: Bell AH-1/AB-47 light helicopter
Scale: 1/72
Manfacturer: Italeri
Comments: Injection molded, 2 sprues with major parts and details, 1 sprue with clear parts, decals for 3 versions (American, Italian and British)
Construction plan: Out of the box


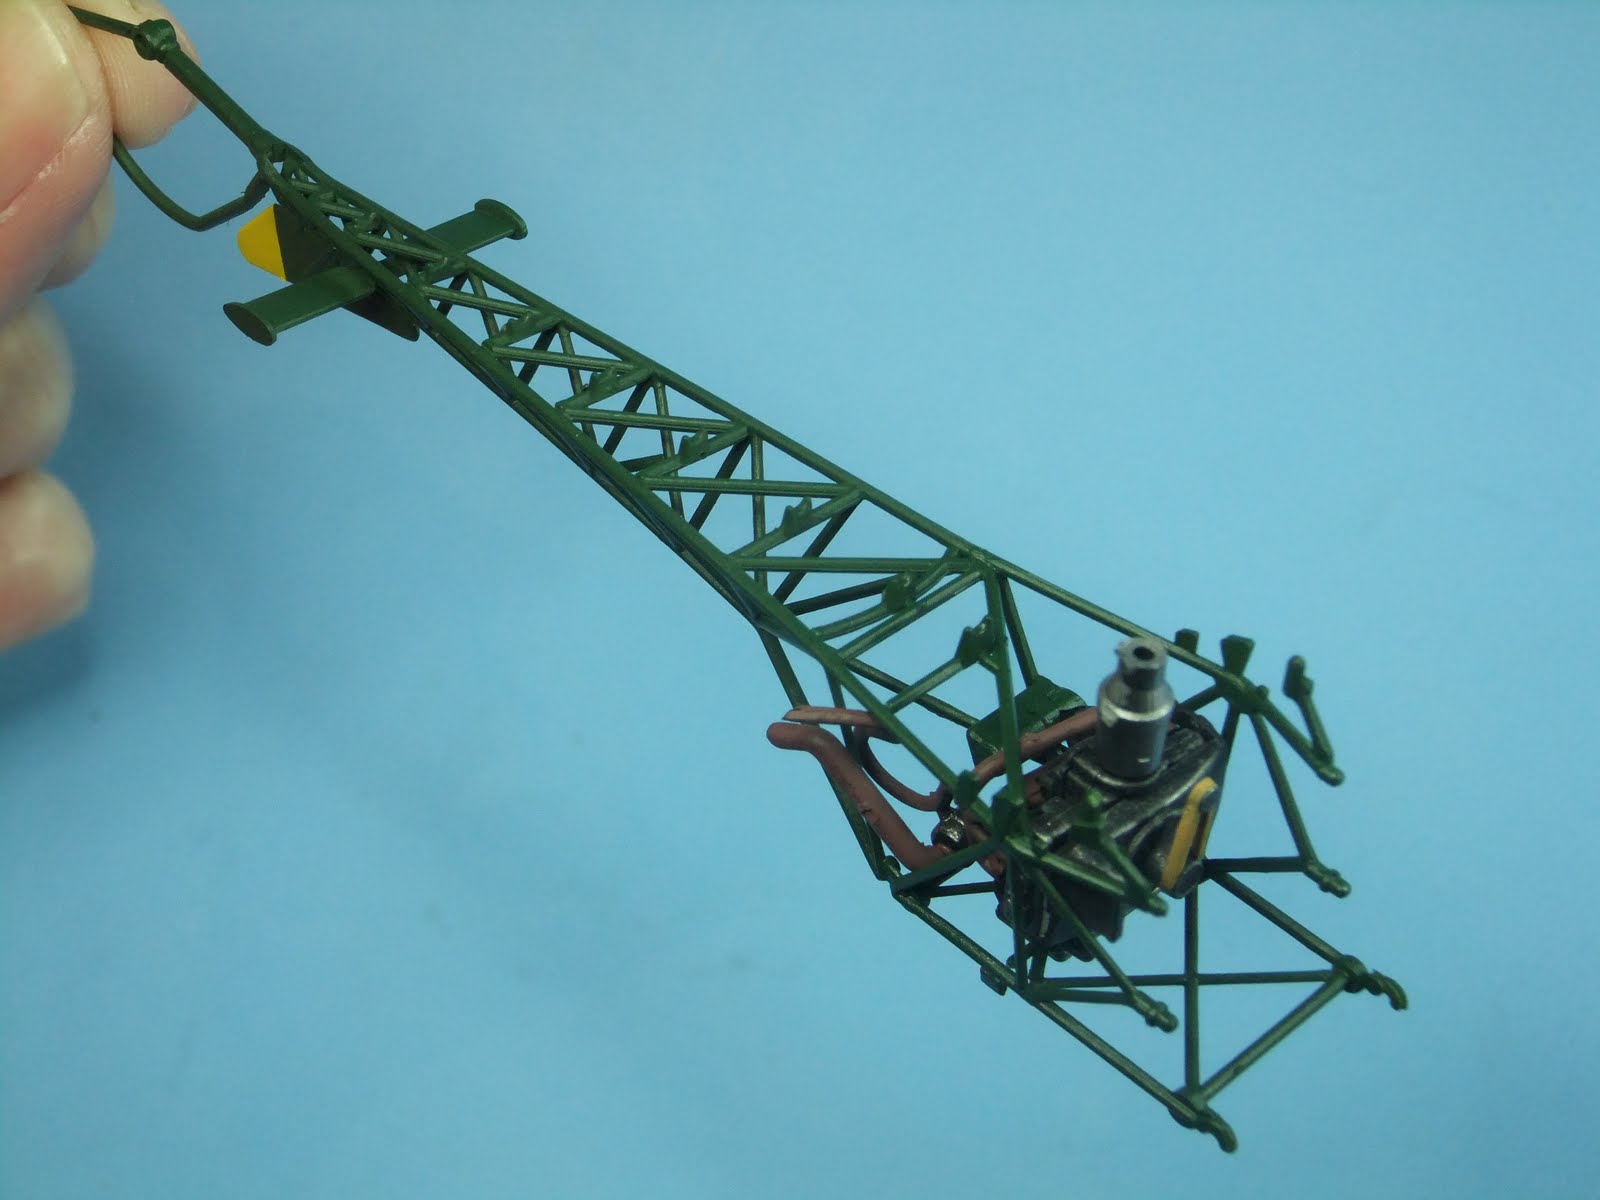
Step 1: I started by painting and building the details that would be built inside the tail frame. I also finished the main rotor. The tail frame was glued togheter leaving enought space to place the engine and some other details. The engine was painted black, then drybrushed with metal cote steel and polished alumunium. The guns were painted in the same way.


Step 2: Now the tail frame is ready and i painted it olive green. The engine is placed in it´s position and soon all the other details will be in place, like the fuel tanks, the landing gear and the guns. Next step will be the cockpit.


Step 3: The cockpit was painted interior green. The seat is in khaki, and the controls in interior green with details in black. The instruments were painted black and drybrushed with neutral grey. Everything was glued to the cockpit body wich was painted orange, then masked and painted olive green to match the rest of the airframe. The landing gear was then glued along with the guns. Next will be the decals for the american version, then the large canopy and the main rotor.


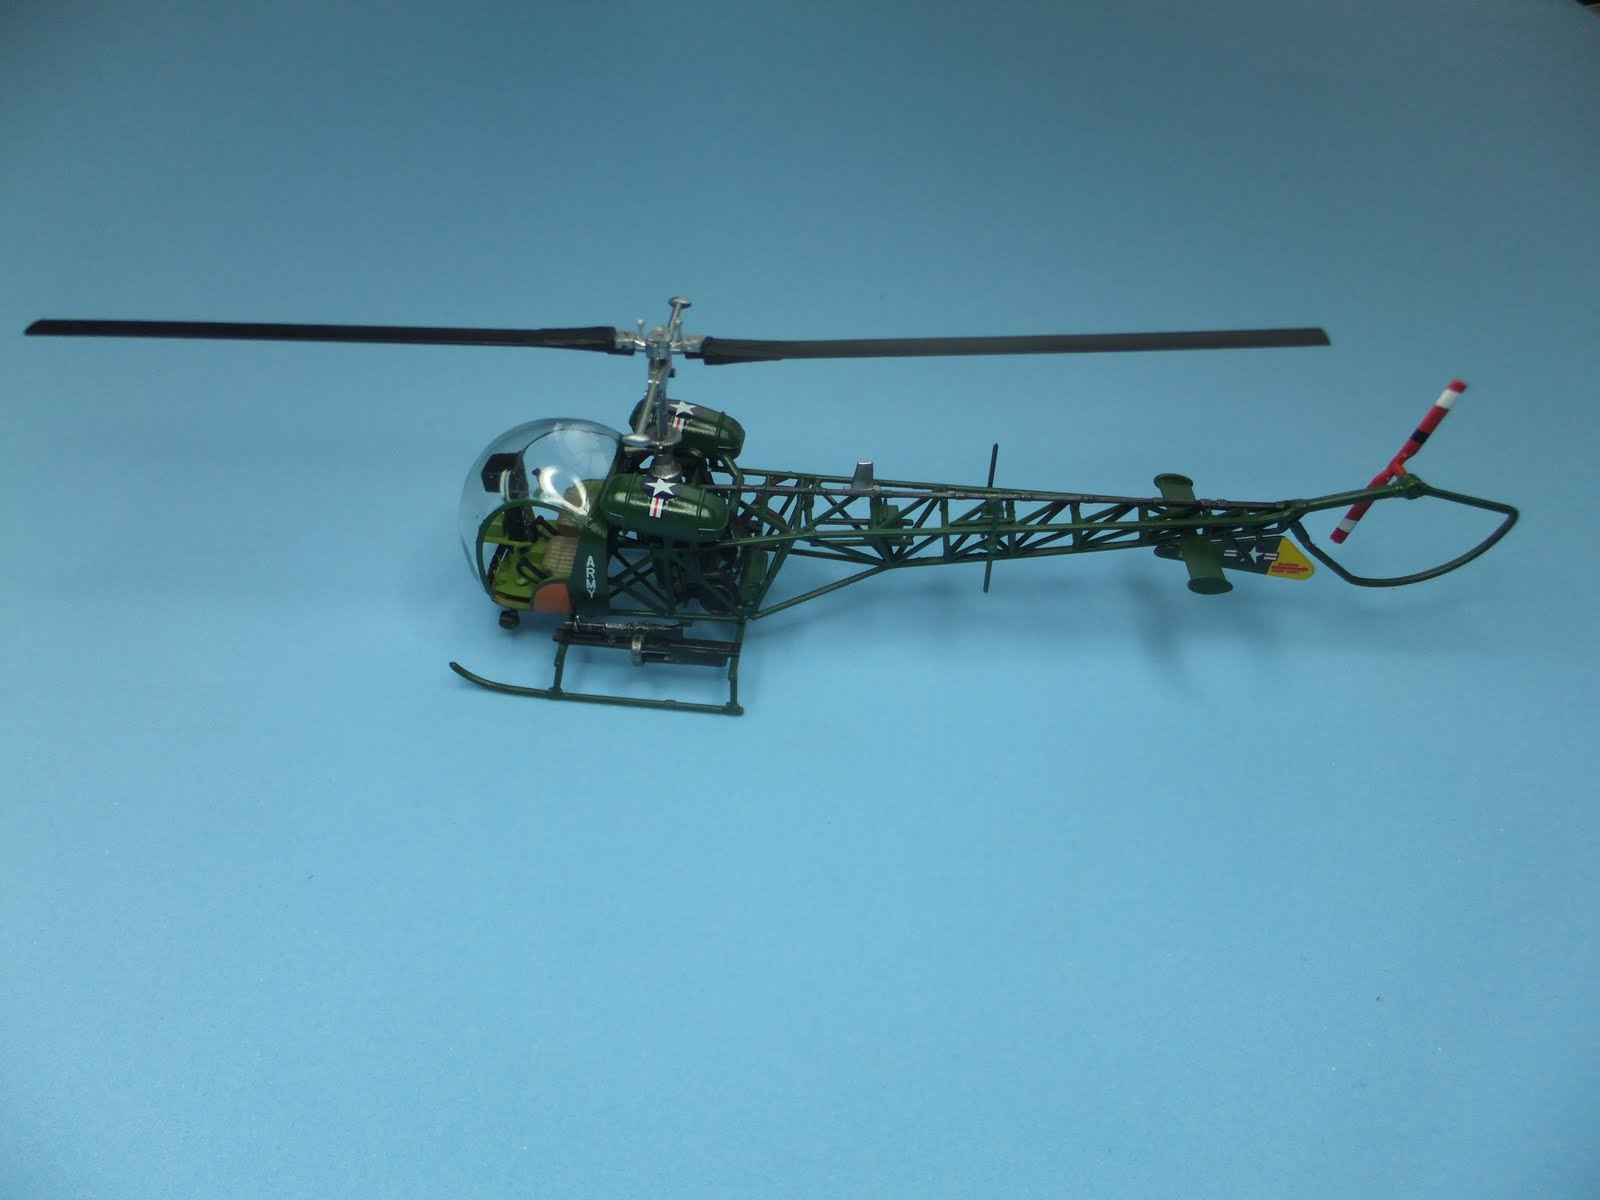
Step 4: Now the decals were placed with some solvent from testors that work better with Italeri decals. Then, i airbrushed some future to protect the decals, placed the large canopy and  the main rotor to finish the kit..
This was a fine kit to build. Fit and detail are excelent. More pics will be added soon under the label "helicopters".

Military aircraft vol.12

Subject: Lockheed TF104G Starfighter, Luftwaffe owned airframe in american markings operating from Edwards AFB in the early 70´s.
Scale: 1/72
Manufacturer: Hasegawa
Painting: Tamiya and gunze acrilics